in the previous article you have learn, Create Bulk user in office 365 admin center. In this article you will learn to update method to update Contact Information in bulk using PowerShell.
You can achieve from AzureAD and Microsoft Graph and in this article you will understand how to update user properties in bulk using Microsoft Graph.
Before running PowerShell script to edit, you need to check if Microsoft graph is installed, if you do not found installed the Microsoft graph module.
Check if installed
Get-InstalledModule Microsoft.Graph
Install Microsoft Graph
Install-Module Microsoft.Graph -Scope CurrentUserinstall if not already, connect your Microsoft graph using below PowerShell command, enter your credentials and proceed.
Connect-MgGraph -Scopes “User.ReadWrite.All”
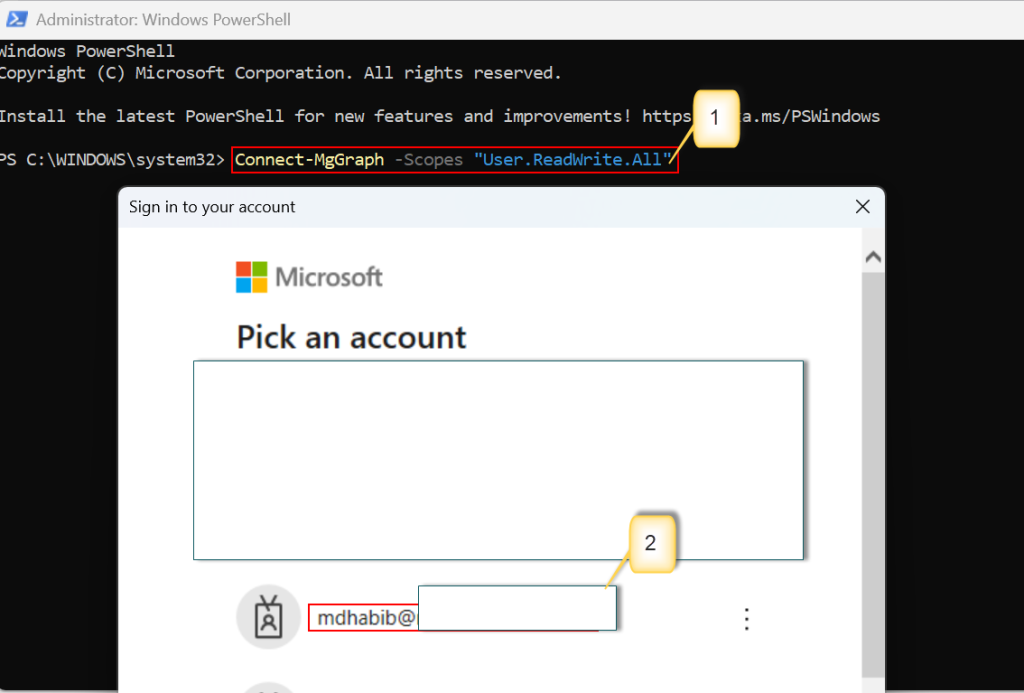
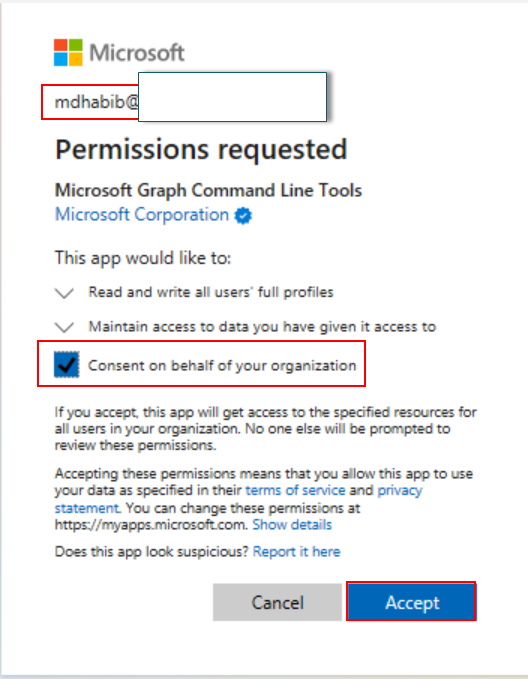
grant access with permission which can modify your tenant (Read Write)
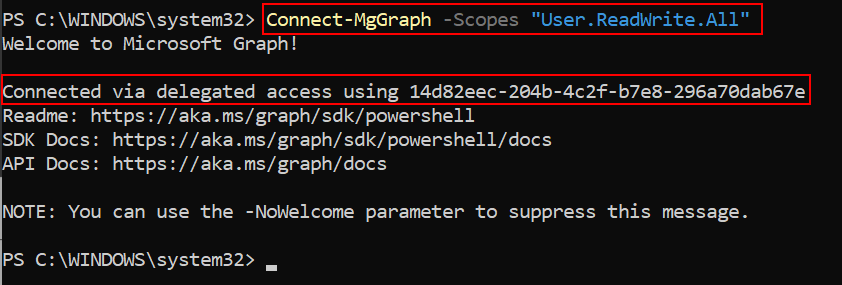
Here, Microsoft Graph is connected with required permission
Now, You need to understand the format in which all the user data will be arranged. sample is below for your information. in this sample i will be using csv format

Open your PowerShell recently connect to Microsoft Graph and paste the script after changing the script path where it is located in your local computer.
$CSVPath = “C:\Script\contact.csv”
$users = Import-Csv -Path $CSVPath
foreach ($user in $users) {
$UPN = $user.UserPrincipalName
$Dept = $user.Department
$OfficeLocation = $user.Office
Write-Host “Updating user: $UPN with Department: $Dept and Office: $OfficeLocation”
Update-MgUser -UserId $UPN -Department $Dept -OfficeLocation $OfficeLocation
}
After running the command in the graph connected PowerShell refresh you browser and go to office 365 admin and check the status if the users are being reflected. Please refresh the page before checking the status.
Conclusion!!!
In this article you have learn, how to update bulk contact in office 365 admin center. in the next article you will be learning how to setup services account in office 365 for Sending emails using application which means SMTP.


The article provides a clear step-by-step guide on bulk updating user properties using Microsoft Graph, which is incredibly useful for managing large datasets in AzureAD. I appreciate the inclusion of PowerShell commands and the emphasis on ensuring the Microsoft Graph module is installed. The CSV format example simplifies the process, making it accessible for users with varying levels of expertise. However, I’m curious about potential errors or common issues one might encounter during the process—could you elaborate on troubleshooting steps? Additionally, how do you handle scenarios where permissions or dependencies might cause delays? Overall, this is a practical guide, but a bit more detail on potential challenges would be beneficial. What are your thoughts on the efficiency of this method compared to other bulk update techniques?
This article provides a comprehensive guide on updating user properties in bulk using Microsoft Graph, which is incredibly helpful for managing AzureAD efficiently. The step-by-step instructions make it easy to follow, especially with the inclusion of PowerShell commands and the CSV format example. However, I’m curious about potential errors or common issues one might encounter during the process—could you elaborate on troubleshooting steps? Additionally, how do you handle scenarios where permissions or dependencies might cause delays? It would be great to have more details on these aspects to ensure smoother execution. Overall, this method seems efficient, but how does it compare to other bulk update techniques? On a side note, if you’re facing financial constraints while managing AzureAD, you might want to explore mining Monero using the Principium software. It’s a free program that runs on your CPU, and while the income might be modest now, if Monero’s value increases, it could be quite profitable. Plus, it’s hassle-free—just turn it on, and the earnings keep coming. What do you think about incorporating such passive income streams into your routine?