In the previous article, I have explained step by step creation and configuration of Boundary and boundary group along with reasons why these configuration required.
In this article, I will be explaining MECM agents using Client Push Installation Method. This is most used and automated way to install agents on windows computer and do not require manual installation. If clients are already discovered then user need to install it else once settings are configured agents will automatically installed.
Computers are required agents to be installed for software deployment, patch deployment, task sequence. One more important task is it collections the computer inventory and resources information which can be view by the administrator. As this type of installation do not require any user interaction because this run silently in the endpoints also get installed even if any user is not logged in to endpoint.
This is fully controlled deployment centrally, where administrator can manage centrally. Administrator can control in which computer agent can be installed, which of the discovery method should trigger to communication with server and client either they use IP subnet, AD discovery, which site server will be used for the installation.
There are multiple phase of working mechanism of installation and that will go through step by step. first of everything, Server discovers a device or device list using the discovery methods and check if they have clients installed or not, after confirming the agents status it send WMI-based install request to endpoint for the client installation. Once the devices received the notification from server to install the agent, client computers starts downloading contents from the site server/ Distribution Point and starts silent client installation. Once installation is done clients computers starts reporting to as client installed in the computer to the servers.
lets configure the client push installation before start the actual installation. Open Configuration Manager Console -> Administration -> Overview -> Site Configuration ->Select the site and right click -> Client Installation Settings -> Client Push Installation.

On General Tab, for automation it is require to enable automatic site-wife installation. to do so
check on “Enable automatic site-wide client push installation” as this install client to the newly discovered devices. Also choose which system type should have clients, i have selected Server and Workstations. Click on Apply and OK.

On Accounts Tab, you need to provide an account which have the full administrative permission like Domain admins and administrator. on Account Section, Click on Yellow Icon looks like sun and click on New Account.

Click on Browse and select MCM user which has been used for MECM installation. Provide the password and confirm and click on verify.

Once You Click on verify, it will ask to provide a network location within sccm server to test the ability to install the agent for the client computer. provide any location within the server or other any location in the network and click on test Test Connect.
In this example, i have selected \\mcm\SMS_SUIAgent and Test Connection. and popup appeared as “The connection as successfully verified” click on OK.

Once the Connection test is done. Go to installation Properties.
On Installation Tab, Add System Management Server Management Point(SMSMP) and provide FQDN of the site server. in my case it is SMSMP=MCM.mohammed.com.np. This require for many tasks for example, Policy Distribution, Inventory Collection, Client Communication, Site Assignment, Software deployment. Once this is done, Click on Apply and OK.

Required client configuration is done.
Now, Its time to install the client or wait few hours to be installed automatically. I will install client to computer manually but this will popup error by saying Client Installation is already in progress.
Perform a Client Push Installation
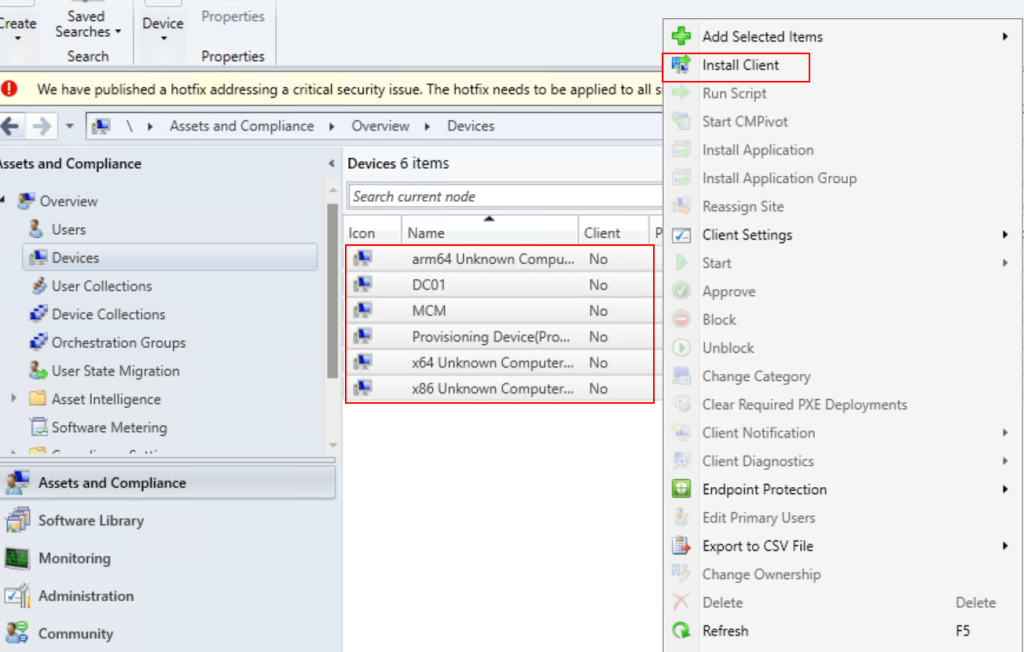
Open Configuration Manager Console -> Assets and Compliance -> Overview -> Devices -> Select Computer and Right Click -> Install Client.
Before You Begin Page, Read the details, it will tell how clients installation will work. and Click Next.

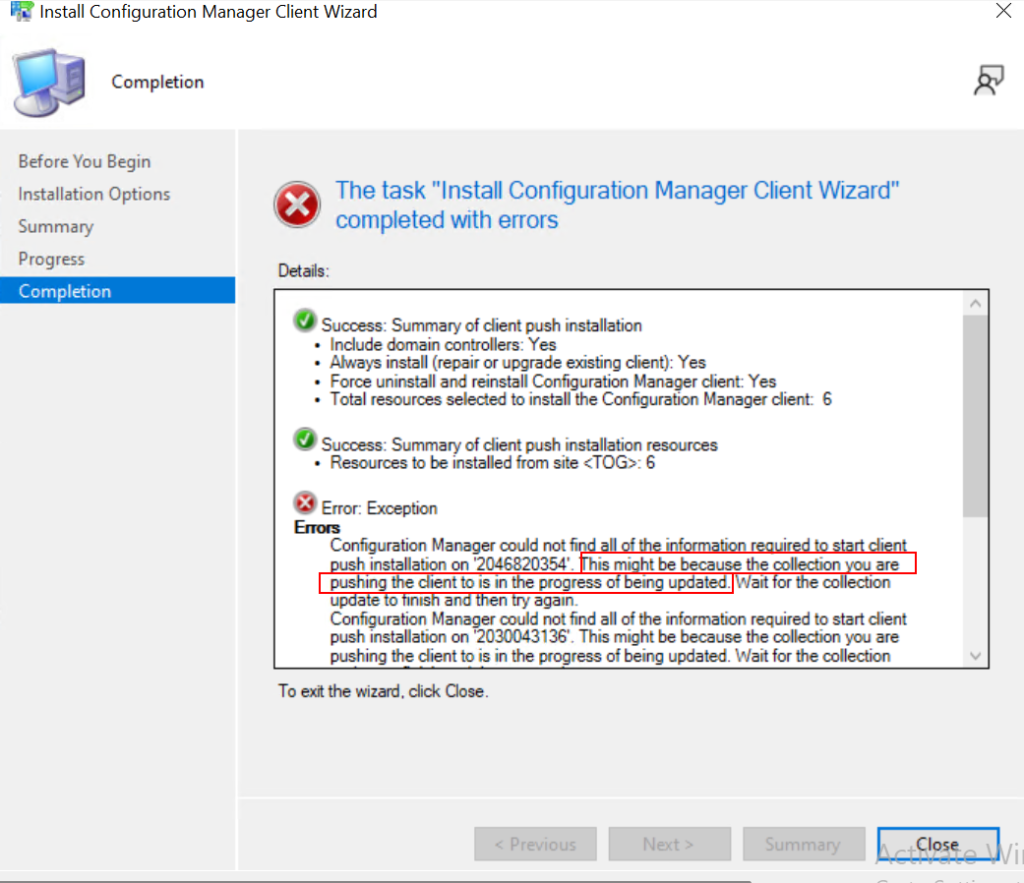
On Installation Options, check mark on “Allow the client software to ne installed on domain controllers” if you want to install the client in domain controllers. check on “Always install the client software” and also choose “Uninstall existing Configuration Manager client installed, you can repair, upgrade, or reinstall the client software.”
select site site server check “Install the client from a specified site” and select site name and click Next.

Review Summary and Click Next.

As already explained, there Exception Error appeared client installation is already in progress. Click on Close.
After 1/2 hour, In both devices client client has been installed.

That’s it
Conclusion!
Congratulations!!!! You learned step by step configuration of the client with steps to push it on computers. In the next article i will be explaining how to add role on site server and in this article i will explaining to add Software update point in the MECM server.